APPENDIX 3:
NIFTY USES FOR OUTPUT BUS TRACKS
CREATE OUTPUT BUS TRACKS FOR SIMPLIFIED MIXING
In the image below, we’ve created five Output BusTracks created for combining all drums, bass, guitars, keyboards, and vocals. All of the drum tracks are routed to the Drums Output Bus Track, all vocal tracks are routed to the Vocals Output Bus Track and so on. This effectively places our entire mix under just five faders, making it super easy to control the mix.

In this example, the Output Bus tracks are all routed to the standard stereo master outs; we’re not routing any of the audio to separate audio interface physical outs. Also remember that each Output Bus Track can have its own EQ, effects, and automation.
CREATE HEADPHONE CUE OR MONITOR MIXES
When recording or performing live, musicians appreciate having their own custom monitor mix. The keyboard player may want to hear the drums, keyboards, and some vocals, but maybe they don’t want to hear the guitarist. Meanwhile, the drummer only wants to hear bass and vocals. And the vocalist will, of course, only want to hear themself, at eardrum-searing volume.
If your audio hardware is equipped with multiple outputs, custom headphone mixes can be set up for each whiny baby band member (you may need to route the audio output to some kind of headphone amp device). Here’s how to do it:
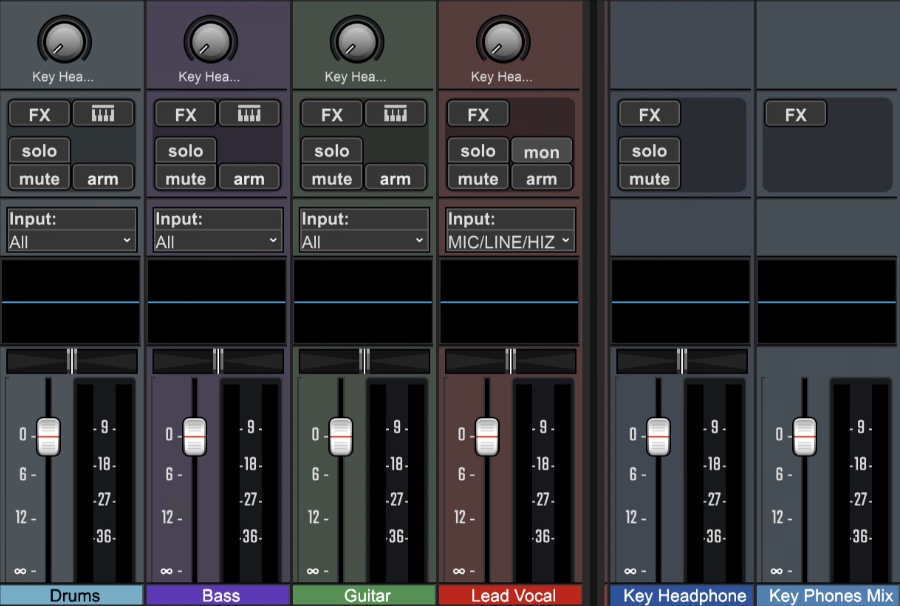
• Create a Send Track for each individual performer’s mix. In the image above, the second track from the right is a Send Track named Key Headphones. You’ll see a corresponding send knob in each of the mixer channels.
• Next, create an Output Bus Track for each performer’s mix. In the image above, that’s the blue Key Phones Mix track.
• Click the Output button on the Key Headphones Send Track, and select the Key Phones Mix Output Bus track. This routes the Send Track to the Output bus track.

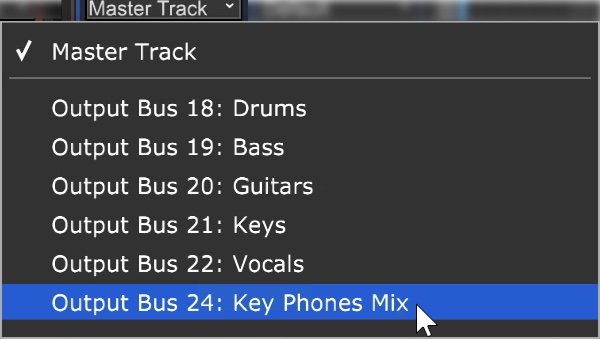
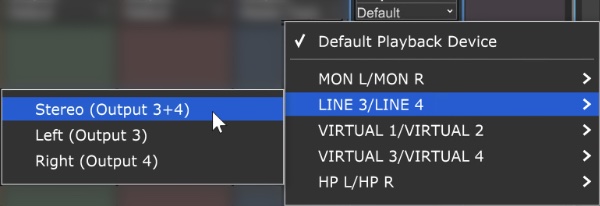
• Click the Output button on the Key Phones Mix Output Bus Track and choose the audio hardware physical output you’d like to route to.
You’re all set - the level of the Send knobs on each track can be used to create a custom monitor mix for the keyboard player. Repeat the steps to create as many mixes as needed.
USE HARDWARE EFFECTS IN A MIX
Using a multi-out audio interface and a little crafty routing, Mixcraft lets you use hardware effect units in mixes. In the example below, a Send Track has been created to make use of a vintage tape delay. The Send Track has been routed to an Output Track, set to an output on the audio interface (make sure and use a physical output other than the main stereo outs). This allows an external hardware effect to behave the same as a Send Track with an onboard plug-in effect. Here’s how to set it up:
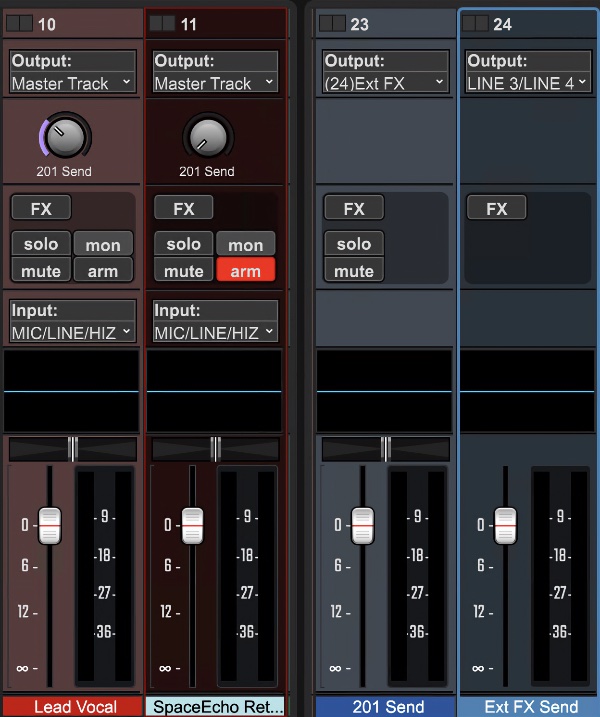
• Create a Send Track (Send 1- Space Echo in the above shot) and an Output Bus Track (Ext FX Send).
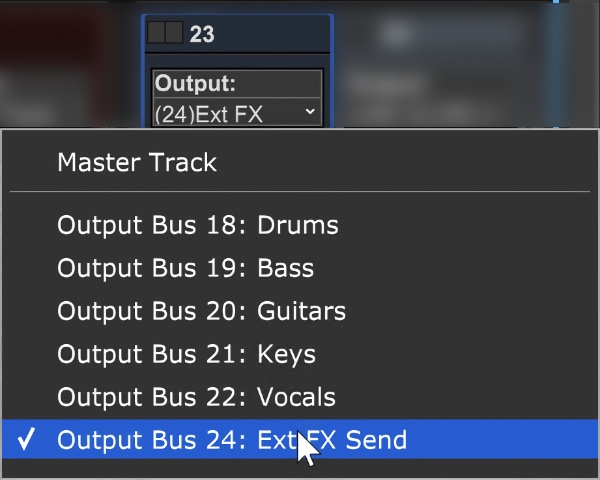
• Set the Send Track Output flip menu to the Output Bus track you just created.
• Set the Output Bus Track Output flip menu to a physical output of your audio hardware (or a pair of outs if using a stereo effect unit).
• Plug the selected audio interface physical output into the input of the effect unit.
• Plug the output(s) of the effect unit into one of the inputs of the audio interface.
• Turn up the red Send knob of the mixer channel you’d like to hear the effect on. In our case, it’s the Vocal channel. Set the effect unit’s input level appropriately.
• Create a new Audio Track, and set its record input to the same one you plugged the output of the effect unit into. Click the track’s Arm button (you might want to initially turn the volume down in case there are any lurking feedback goblins).
If software monitoring is activated on the audio track (by clicking the speaker icon with the track armed), the effect output will be heard alongside all other mix elements. It’s a good idea to record the effected signal (preferably set to 100% wet). Once you’ve done this, the effected signal can be mixed as desired and you won’t need to worry about having it set up when playing back the project in the future.
One thing to keep in mind is when routing external effects in this manner is that audio latency settings can affect the timing of the returned effect signal when using software monitoring at higher latency settings. If you’re using a time-domain effect such as a delay or reverb, it’s unlikely you’ll hear any noticeable lagging (just make sure the effect unit is set to 100% wet). You’re more likely to hear “comb filter” or flange-y artifacts with “real-time” insert effects such as EQ’s or compressors. The easy workaround is to record the effected audio into Mixcraft, then scoot the resulting audio clip back a tiny amount in order to make up for the return-trip delay (turn Snap off and zoom in as close as possible).