VIDEO TEXT TRACKS
The text track contains text clips and is a child of the video track. It can be viewed by clicking the + sign at the bottom-left corner of the video track.
There are two types of text clips:
- Normal
- Scrolling Text
Text tracks can contain multiple lanes and can be used for titles, lyrics, credits, transitions, and more.
ADDING AND EDITING TEXT
Use the Text feature to add titles, lyrics, captions, and more.
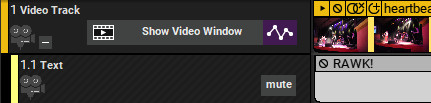
To open the Edit Text window, click Video>Add Text… in the Main Window menus. Opening the Edit Text window automatically creates a Text clip and places it in the grid at the current Caret location. Text clips are placed on the Text track. This is a child track of the Video track. To view or hide the Text track, click the + or - sign on the left side of the Video track.

The Text track also has a Mute button. This won’t make on-screen words any quieter, but it disables the display of text in the project.
To edit a Text clip, double-click it, or right-click and choose Edit Text...
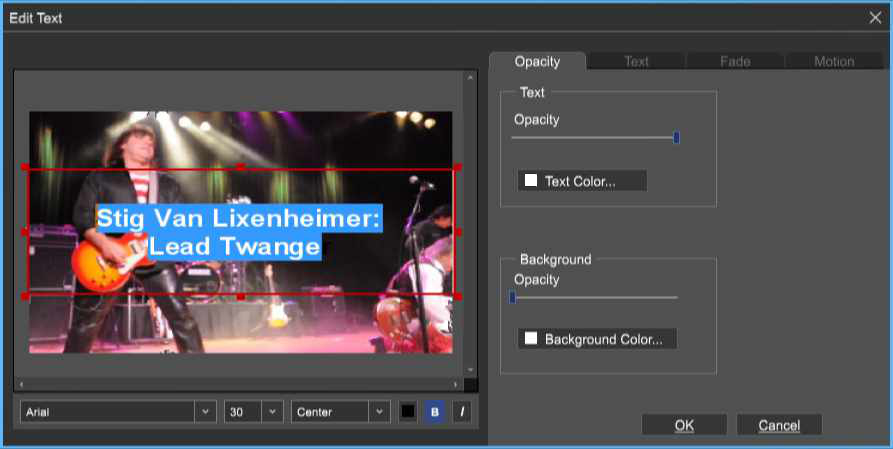
The Text Object is the field within the red rectangle where text is contained.
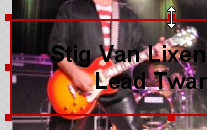
To resize the Text Object, click and drag on the small red squares; the cursor turns into arrows when in the correct position.
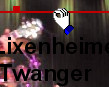
To move the entire Text Object, grab one of the red lines (away from the red squares), click and drag. The cursor turns into a hand when in position.
SETTING TEXT FONT, SIZE, AND COLOR

The font, size, and color settings can be set using the toolbar at the bottom of the Edit Text window.
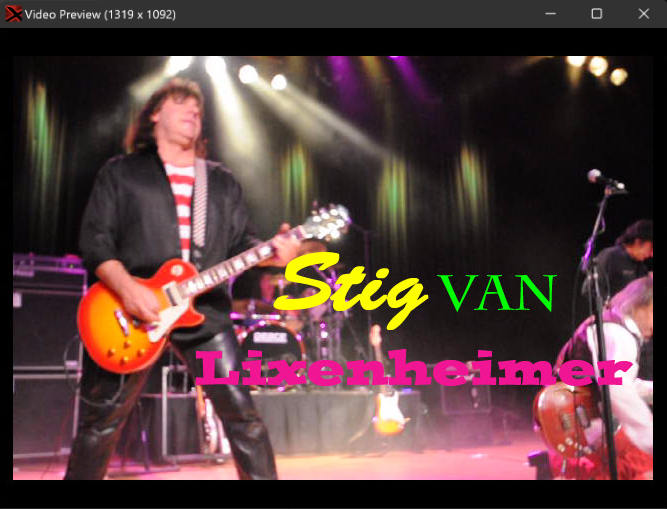
The font, size, and color settings can be specified per character. In other words, every letter or number in a title can have its own individual settings. Simply highlight the characters you’d like to modify and make changes. (Go easy on this one - you can make a real mess!)
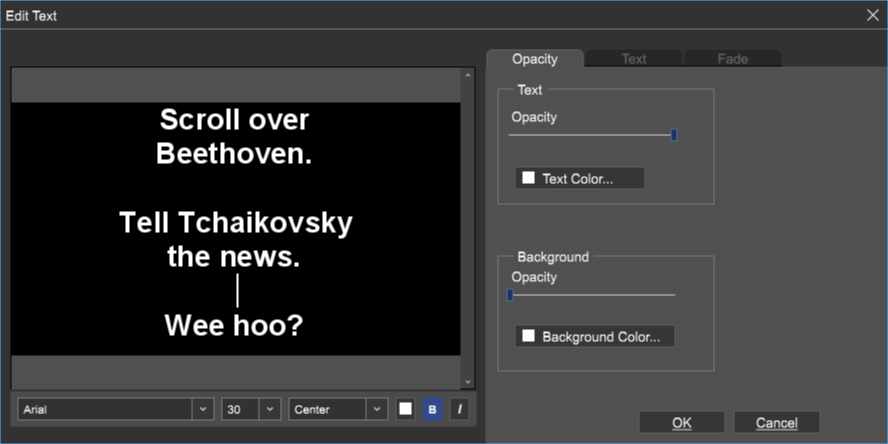
OPACITY TAB
The Opacity Tab changes the text, colors, background colors, and transparency level.
• Text/Background Opacity Sliders
Moving the Opacity sliders adjusts the text and background from transparent to a solid color.
• Selecting a Text Color
To select text color, click the Text Color button and click a color square. You can also click the mouse anywhere in the color spectrum display, or if you’re familiar with RGB color numbering, numbers may be entered in the RGB fields, then click OK. Custom colors can be saved for future use by clicking Add To Custom Colors.
• Selecting a Background Color
To select a color for the text background, click the Background Color button and choose a color as specified above.
Note: The text color setting at the bottom of the toolbar and the Text Color… button both perform the same function.
Background Check
A text background color can be very helpful for making the text easy to read on an overly bright or dark video image.
TEXT TAB
These parameters specify text placement within the Text Object as well as masking and drop shadow options.
• Orientation
Choose whether the text justifies left, center, or right, and top, center, or bottom.
• Margins
Percentage setting for vertical and horizontal margins.
• Treat Text As Mask
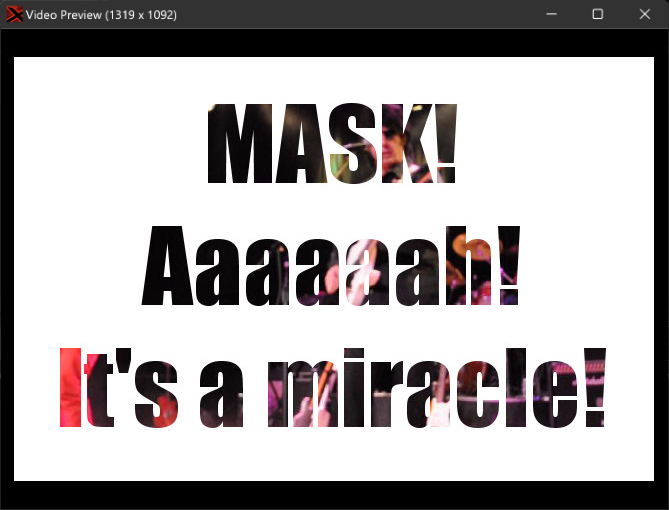
Creates a solid color screen fill with the underlying video bleeding through the text characters.
• Drop Shadow
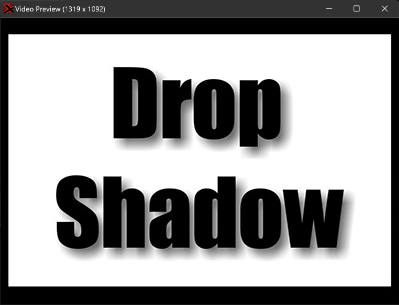
Adds a black drop shadow to text characters with choices of small, medium, and large.
FADE TAB
Text can be faded in and out over time using the Fade tab. Check the Fade In or Fade Out checkboxes, then set the desired fade duration. As a reference, one second = 1000 milliseconds.
MOTION TAB
The Motion tab provides intro and outro text animation.
TYPES OF ANIMATION
Adds movement to text. Start Animation and End Animation lets you specify separate animation behavior for the start and end of Text Clips.
• None
Text does not animate. Not very exciting.
• Move
Choose whether text enters from the left, right, top, or bottom of the frame as specified by the Direction drop-down menu. Enter the animation length using the Duration field.
• Reveal
Text characters reveal themselves in the specified according to the Direction drop-down choice. Enter the animation length using the Duration field.
EDITING TEXT CLIP SIZE

Resizing a Text Clip alters how long the text is displayed. To change the the size a text clip, click on the clip’s left or right edge and drag horizontally. The cursor turns into left/right arrows when hovering on the clip’s edge.
ADDING AND EDITING SCROLLING TEXT
Scrolling Text functions much the same as regular text, but scrolling text automatically moves from the bottom to the top of the screen (hence the clever name). Scrolling text is ideal for creating credits.
To add Scrolling Text, click Video>Add Scrolling Text… in the Main Window menus. Opening the Edit Text window automatically creates a Scrolling Text Clip and places it in the grid at the current Caret location on the Video Track’s Text child track.
To edit a Scrolling Text Clip, double-click it, or right-click and choose Edit Text...
All editing functionality and tabs work the same as when editing static text, but because Scrolling Text inherently moves from the bottom to the top of the screen, the Motion tab is removed from the Edit Text window.
ALTERING SCROLL SPEED

The scroll rate of Scrolling Text clips is automatically adjusted depending on the clip size. To slow down or speed up the rate of scrolling, move the mouse over the left or right edge of the clip and resize it horizontally. The cursor will turn into left/right arrows when hovering on the clip’s edge.
USING LANES WITH VIDEO AND TEXT TRACKS

As with Audio Tracks and Virtual Instrument Tracks, multiple lanes can be created for Video and Text tracks. To create or delete lanes, highlight a Video Track or Text Track and right-click and select Lanes>Add or Lanes>Delete. Lanes can also be added with the key shortcut [ALT]+L.
Remember that only one video stream can play at any given time; if multiple video lanes are used, the clip in the uppermost lane will have playback priority.
Text and Scrolling Text clips are not subject to “one-at-a-time” limitations. Text and Scrolling Text clips in multiple lanes will all play simultaneously.