LOAD AND PLAY AN AUDIO CLIP
To launch Mixcraft, double-click the Mixcraft 10 icon on the desktop. We’ll begin by dragging an audio clip of a bass line into the Main Window - that’s the big gray grid where clips of audio, MIDI, and video playback are.
Click the Library tab at the bottom of the arrange window, then click the Library pop- menu and select Loops. Now click the Sort By pop-up menu and select Song Kit. You’ll see a list of song styles below; select 12-8 Blues. In the list of loops on the right, you’ll see Bass 12 Bars. Click and drag this to bar 1 of Audio Track in the empty gray grid (beneath the word Start). While hovering a loop over the grid in the Track View window, you’ll notice two tiny yellow triangles; this is called the Caret.
The Caret indicates where clips will land when the mouse button is released. It also indicates where playback or recording begins. Once you’ve dropped the audio into place, a dialog box will open and ask: “Use Best Sounding Project Tempo, Key & Time Signature?” We’ll explain exactly what this means later on, but for now, click Yes.
Once you’ve dropped a loop into the main grid, it creates a “Clip.” Clips are the rectangular audio, MIDI, or video “building blocks” in the main grid. The Main Grid window should look something like this:
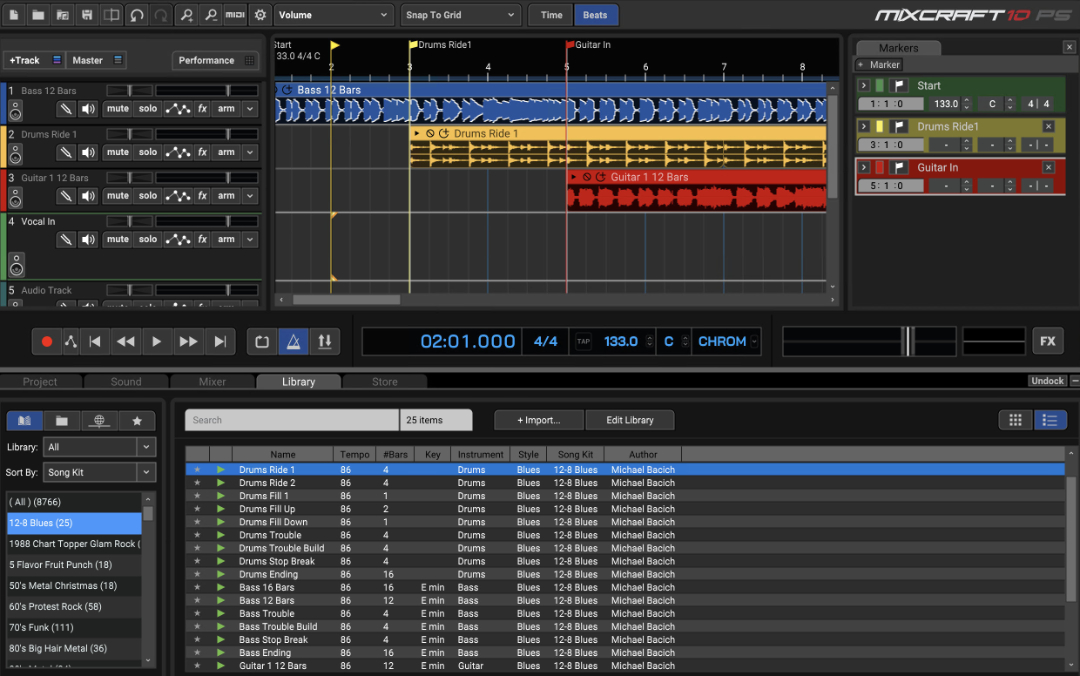
Click the green play arrow button in the transport section to hear the bass clip play; click a second time to stop playback, or press the space bar to start or stop playback.
If the clip begins playing somewhere in the middle, click the mouse near the number 1 in the timeline (the numbered line at the top of the Main Grid window). This will relocate the Caret, thereby changing the playback start.
Try dragging different types of loops into the Main Grid on separate audio tracks. Mixcraft will automatically match the tempo and key signature of the audio, making it super easy to create music! If you run out of audio tracks, create more by clicking +Track>Insert Audio track at the top of the Track List.

If you’d like a section to loop during playback, drag the mouse in the timeline at the top to create a purple highlight area, then click the Loop button in the transport area. The button will turn blue, indicating that loop mode is active. Click it again to disable looping. (Pressing the L button also toggles looping.)
Right On Track
You may notice that Mixcraft won’t allow you to drop the loop on a track with a little keyboard icon; that’s because these are MIDI tracks. Make sure to drag audio loops to audio tracks, i.e. tracks with a little speaker icon. Mixcraft actually has a number of different track types optimized for different purposes, but while we’re in “quick startville,” we’ll just concern ourselves with audio tracks, that play digitized audio, and MIDI tracks, that play note on/off messages.
Jargon Alert: The “>” Sign
Throughout this manual, when you see something like +Track>Insert Audio, the “>” sign usually refers to a sequence of actions. Think of it as a shorthand for, “click this>then this> then this.”