USING VIDEO TRACKS
VIDEO TRACK
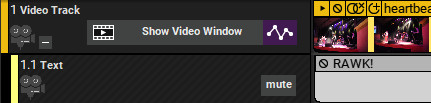
A video track holds video clips, images, and text. A project can only have one video track. To create a video track, click the +Track button and select Insert Video Track. You can also insert a video track by right-clicking and selecting Insert Track, or accessing from the Track> Insert Track menu at the top of the main page.
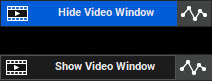
To toggle viewing of the video playback window, click the Show/Hide Video Window button. A video preview window will open, and the Show/Hide Video Window button will turn green.
LOADING VIDEOS
Mixcraft supports AVI,WMV, and MP4 video formats. To load any other format, you’ll need to convert it using a third-party video conversion app.
Note: MP4 format is only available with Windows 7 or higher.
To add a video, click Video>Add a Video File... in the Main Window menus and navigate to the video to be loaded. The video will be placed at the current Caret location. Videos can also be dragged and dropped into the Main Clip Grid from a Windows directory. You don’t even need to create a Video Track; if the project doesn’t have one, Mixcraft will create it.
VIDEO PREVIEW WINDOW
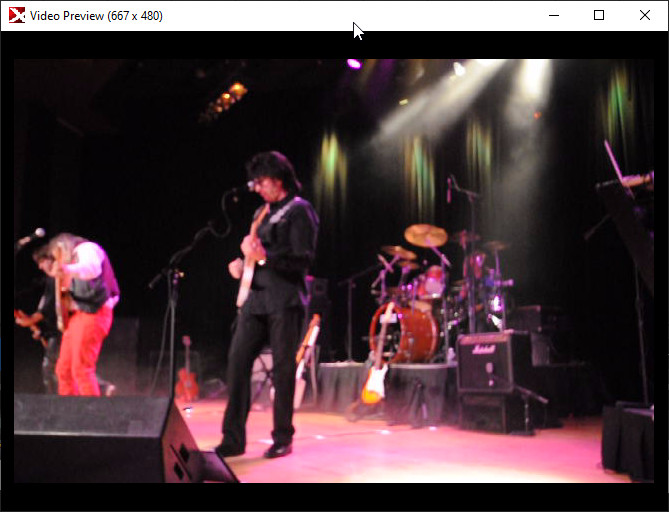
This Video Preview window displays the video at the current playback position, including text and any currently active effects. It can be toggled on and off by clicking Show Video Window or Hide Video Window in the Video Track. The Video Preview can be moved at will by grabbing and dragging its title bar. This is especially handy if you’re using two displays.
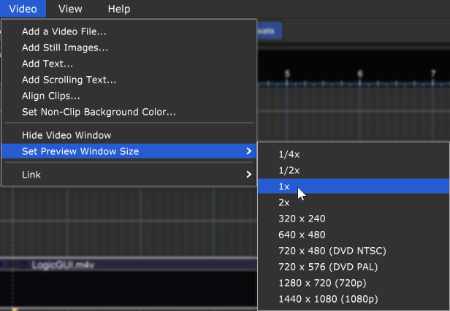
The Video Preview window can be resized by selecting Video>Set Preview Window Size in the Main Window menus.
ADDING PHOTOS/IMAGES
Photos or images can be added by clicking Video>Add a Video File... in the Main Window menus. This opens a file dialog, which allows the loading of an image or multiple images. The images will be placed at the Caret location. Images can also be dragged and dropped into the Main Clip Grid from a Windows directory. The following image types are supported:
• .JPG
• .PNG
• .BMP
• .GIF
To add more than one image at a time, select multiple photos or images when adding. The images will be added to the video track; each one will last five seconds and overlap the next by one second.
EDITING PHOTO DURATION

The amount of time a photo is displayed can be altered by moving the mouse to the left or right edge of the clip and dragging horizontally to change the duration.
Entire clips can be moved by dragging the title bar. All standard edit commands apply to images, such as copy, paste, linking, splitting, etc.
As with audio clips, overlapping a video or image clip automatically creates a crossfade, but in this case, it will be a “visual” crossfade.
ALIGN VIDEO CLIPS
This allows easy tempo syncing of images or videos as well as precisely timed slide shows.
To align video clips, click Video>Align Clips in the Main Window menus. This opens one of the following dialogs depending on whether Mixcraft is currently set to Time or Beats mode.
In Time mode:
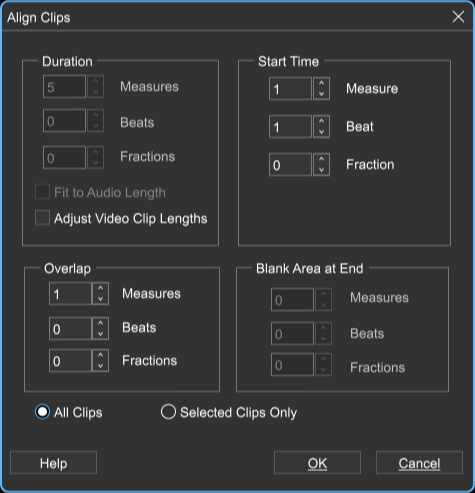
In Beats mode:
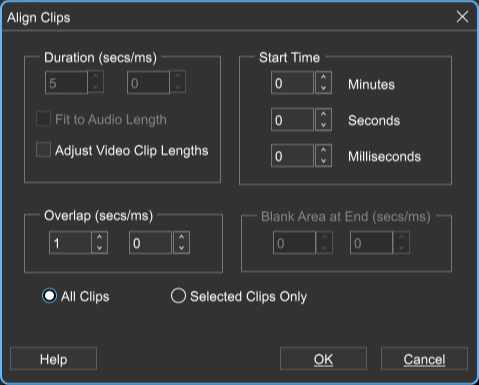
DURATION
Sets the length of clips.
• Fitting To Audio Length
If you have a lot of audio, such as a song or several songs, and you’d like the images to span the length of the audio, click Fit to Audio Length. This disables the duration field, resizes, and aligns clips to create a slide show of all the images spaced over the duration of the audio.
• Adjust Video Clip Lengths
If there are video clips in the project, their length will not be changed by default. In order to crop the right-hand side of video clips, make sure to check the Adjust Video Clip Lengths checkbox.
• Start Time
Sets the start location of the clip.
• Overlap
Causes clips to overlap and fade crossfade.
• All Clips/Selected Clips Only
Use these to select which clips are affected. All Clips applies alignment to all clips in a project whereas Selected Clips Only affects only currently highlighted clips.
VIDEO EFFECTS
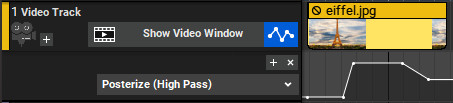
Video effects can be added to alter a video’s appearance over time. You can fade in and out, add blur, transition to grayscale, and much more. On the Video track, click the automation button.
VIDEO EFFECTS AUTOMATION DISPLAY
Adding Mixcraft’s video effects is very similar to automating audio parameters. All “standard” automation parameters apply, including curves, and manipulation of region segments via the automation “handle” tool.
Multiple video effects lanes can be displayed simultaneously. To view or hide video effects, click the Video Track’s Toggle Automation button.
If a Video Track has no video effects, a single automation lane opens displaying the Lightness effect. If a track has existing video effects, you’ll see all automation lanes with views currently enabled (using the + and X buttons described below).
The Toggle Automation button only hides and displays the video effects automation lanes, but has no affect on automation playback. In other words, video effects are active even if the lanes are hidden with the Toggle Automation button.
ADD AUTOMATION LANE

Adds a new video effects automation lane to the track.
HIDE AUTOMATION LANE

Hides a video effects automation lane.
SELECTING A VIDEO EFFECT
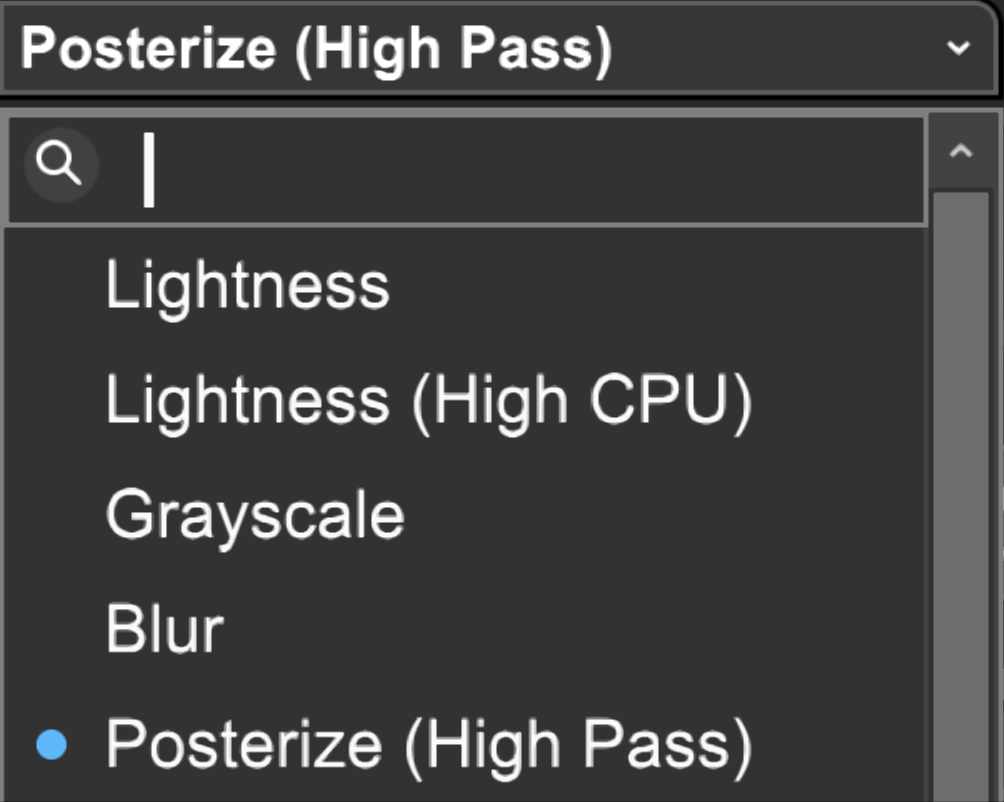
To choose an effect, click on the drop-down menu in the tracklist.
Video Effects List | |
|---|---|
Lightness | Blue Channel Strength |
Lightness (High CPU) | Red Filter |
Grayscale | Green Filter |
Blur | Blue Filter |
Posterize (High Pass) | Invert Red Channel |
Low Pass | Invert Green Channel |
Emboss | Invert Blue Channel |
XOR (Invert/Negative) | XOR High Pass |
Sepia | XOR Low Pass |
Antique (Light) | Flip Horizontal |
Antique (Heavy) | Kaleidoscope Right |
Red Channel Strength | Kaleidoscope Left |
Green Channel Strength |
ADDING AND EDITING VIDEO EFFECTS AUTOMATION
To add automation points, click on the automation line and drag the point up and down. The position of newly created automation points will conform to the current Snap setting. The global snap value applies when adding and editing automation points.

If you experience problems moving an envelope point to a specific location, remember to change the Snap setting to Snap Off.
To move a horizontal section of the automation line, hold down the [SHIFT] key while dragging. The cursor will turn into an up/down arrow.
Dragging an automation point over other automation points will cause them to be “overrun” and deleted upon mouse release.
FINE-TUNING AND DELETING AUTOMATION POINTS
• Edit Exact Value
To precisely set automation point values, right-click it and choose Edit Exact Value. The dialog box below opens and allows exact settings for automation points.
• Delete Point
To delete an automation point, right-click on it and choose Delete Point.
CUTTING, COPYING, AND PASTING AUTOMATION DATA
As with audio automation, video effect automation data can be cut, copied, and pasted.
• Cut
To cut a section of Video Effect automation, highlight the section to be cut by clicking and dragging over it. Now select [CTRL]+X either in Mixcraft’s file menu or by right-clicking the mouse. Paste the cut automation data to a new location by positioning the Caret marker in the desired new location, then selecting [CTRL]+V either in Mixcraft’s file menu or by right-clicking.
• Copy
To copy, highlight the section of Video Effect automation you’d like copied by clicking and dragging over the area to be copied. Now select [CTRL]+C either in Mixcraft’s file menu or by right-clicking. Position the Caret marker in the desired copy location, and paste by selecting [CTRL]+V either in Mixcraft’s file menu or by right-clicking.