AUTOMATION AND CONTROLLER MAPPING
AUTOMATED MIXING 101: INTRO TO AUTOMATION
Mixcraft’s automation features are super comprehensive while being easy to learn and use. Though automation can be used for basic volume and pan moves, once you dig in, you’ll find oodles of great ways to use it, resulting in pro-quality, “how’d they do that?” final mixes.
First, we’ll explain Mixcraft’s two different types of automation, then later in the chapter we’ll go over MIDI/USB hardware controller setup and mapping, as it’s closely tied into recording automation moves. To save on valuable screen pixel resources, we’ll abbreviate clip-based automation down to “clip automation,” and likewise with lane-based automation.
DIFFERENCES BETWEEN CLIP AND TRACK AUTOMATION
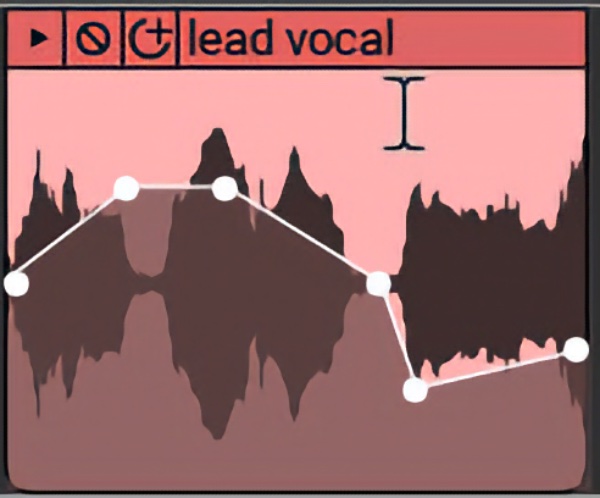
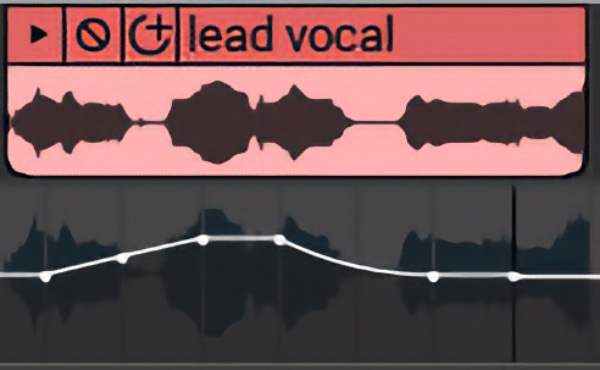
Mixcraft features two different types of automation: clip and track. As its name implies, clip automation operates individually on each clip. It allows automation of volume, pan, low pass filter cutoff frequency and resonance, high pass filter cutoff frequency and resonance for audio and MIDI clips. Pitch automation is also available for audio clips only. Clip automation is useful for automation moves that you’d like to repeat for a number of clips, or if you need to reduce or increase volume or change panning on just a couple of clips. As you’ll see, clip-based automation is fast and easy and has many applications.
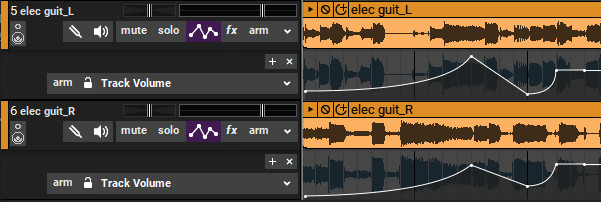
Track-based automation differs in a number of ways. Most significantly, track automation functions independently of clips - it’s essentially “laid across” multiple clips that make up a project. Because it functions independently of clips, it’s possible to create, for example, a slow volume fade spanning numerous clips. In fact, it doesn’t even care if there is a clip beneath it, it just does its automatin’ thing. And instead of being visually superimposed onto the clips themselves, lane-based automation is displayed separately from the clips it affects in parallel horizontal “lanes” beneath clips.
The other important difference is that clip-based automation does not affect control positions in the Mixer - it simply adds or subtracts parameters “on top” of the current control positions. Conversely, if an automation lane’s Lock button is engaged, automation behaves like a “third hand,” causing mixer controls to move. This makes it more suitable for use with moving fader hardware control surfaces, as the onscreen controls and physical controls will move together in lockstep.
Finally, clip and lane automation can be used simultaneously, but we don’t recommend using both types to control the same parameter (like volume), as things can get confusing quickly.